Set up moni in three steps
When you first open moni, it asks where your money comes from, where you keep it and where it goes. It takes about two minutes, and you can change it all later.
-
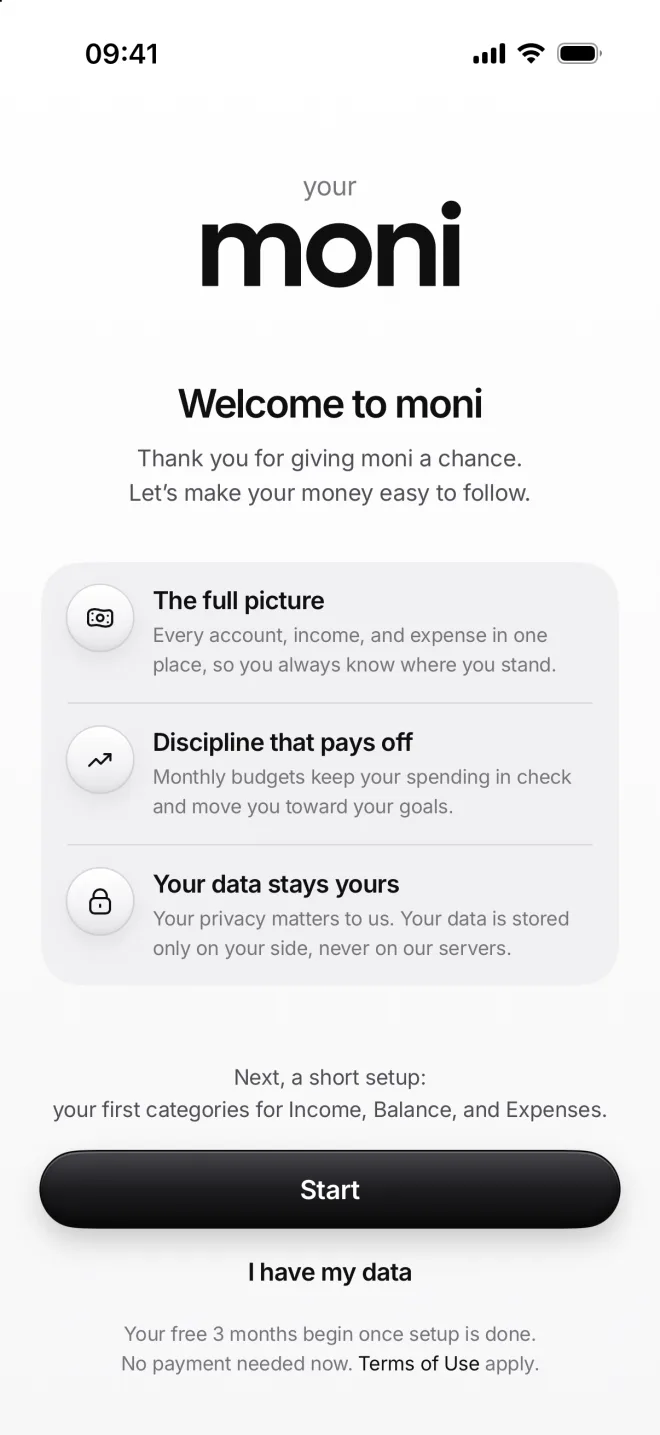
Open moni and tap Start
The welcome screen sums up what moni does. Tap Start to begin. You set moni up first, then start your free months.
Moving from another iPhone? Tap I have my data instead and open your moni backup file. You won’t need to set anything up.
-
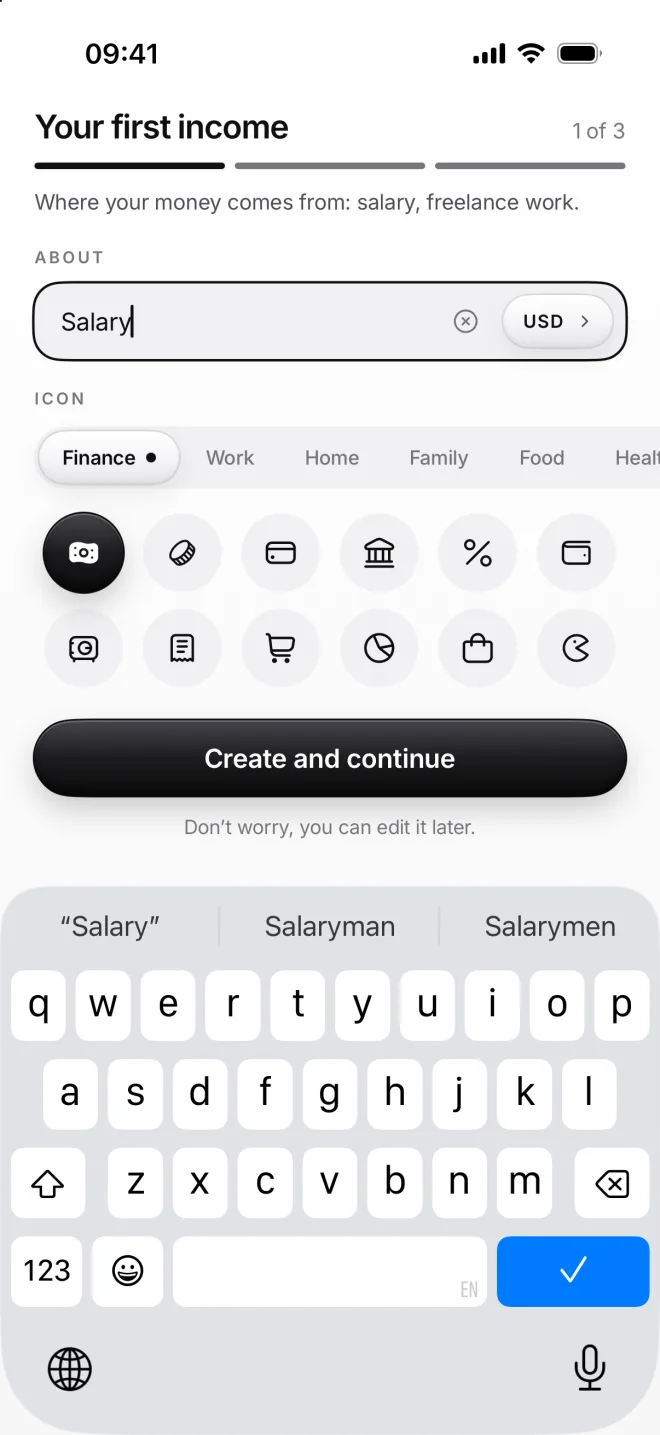
Name your first income
Type where your money comes from, like Salary or Freelance. Then tap the currency next to it and pick the one you’re paid in.
Choose an icon for it from the groups below the name. When it looks right, tap Create and continue to go on to the next step.
-
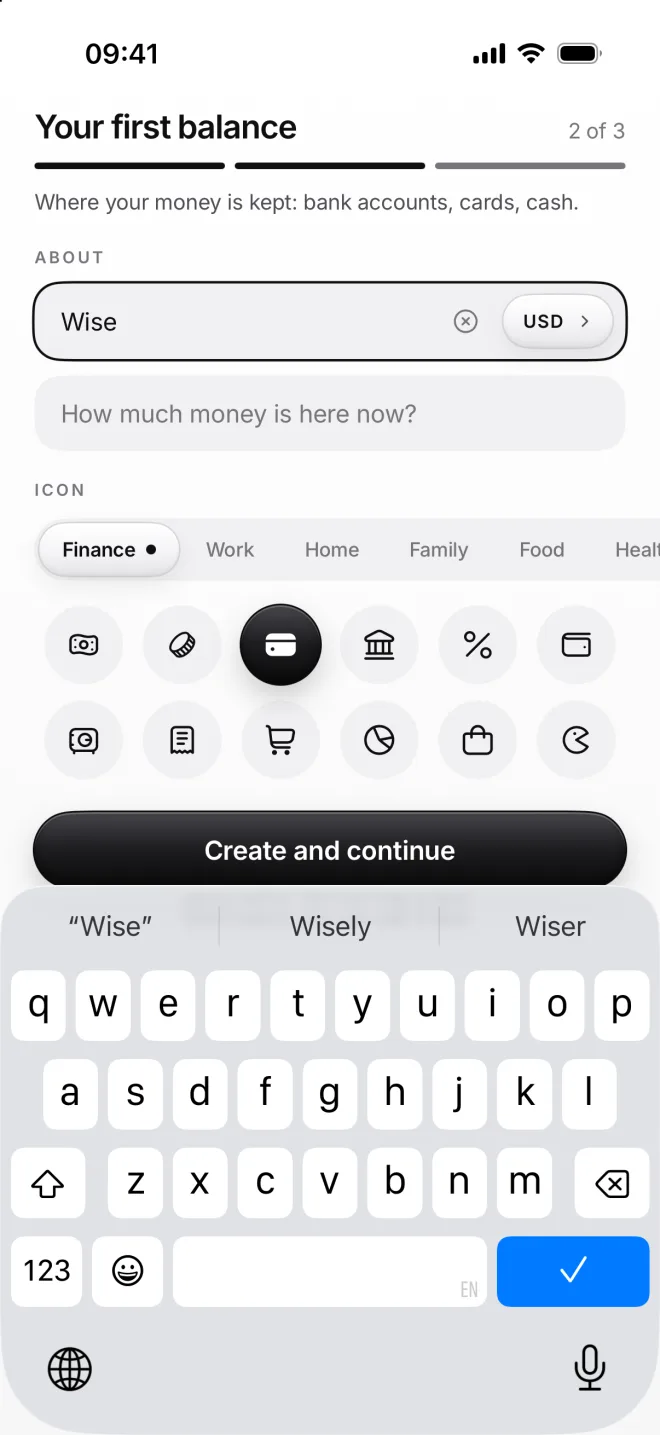
Add where you keep money
Your first balance is a bank account, a card or cash, like Wise. Enter how much money is in it now, so moni starts from there.
The currency starts as the one from step 1. If the account is in another currency, tap the currency and choose the right one.
-
Add your first expense
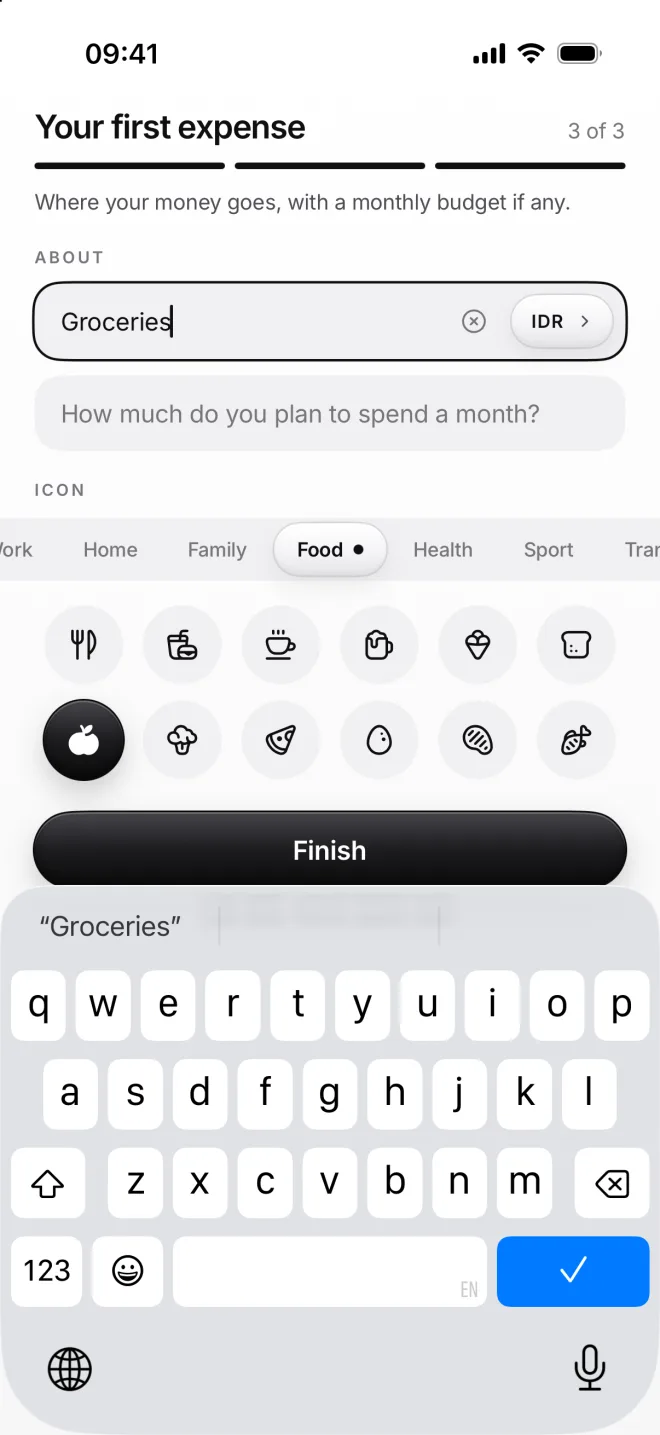
Name where your money goes, like Groceries. Give it a monthly budget now or later, and moni shows how much of it is left.
Tap Finish. The currency of this category becomes your main currency: moni shows your balance and all your totals in it.
-
Start your free months
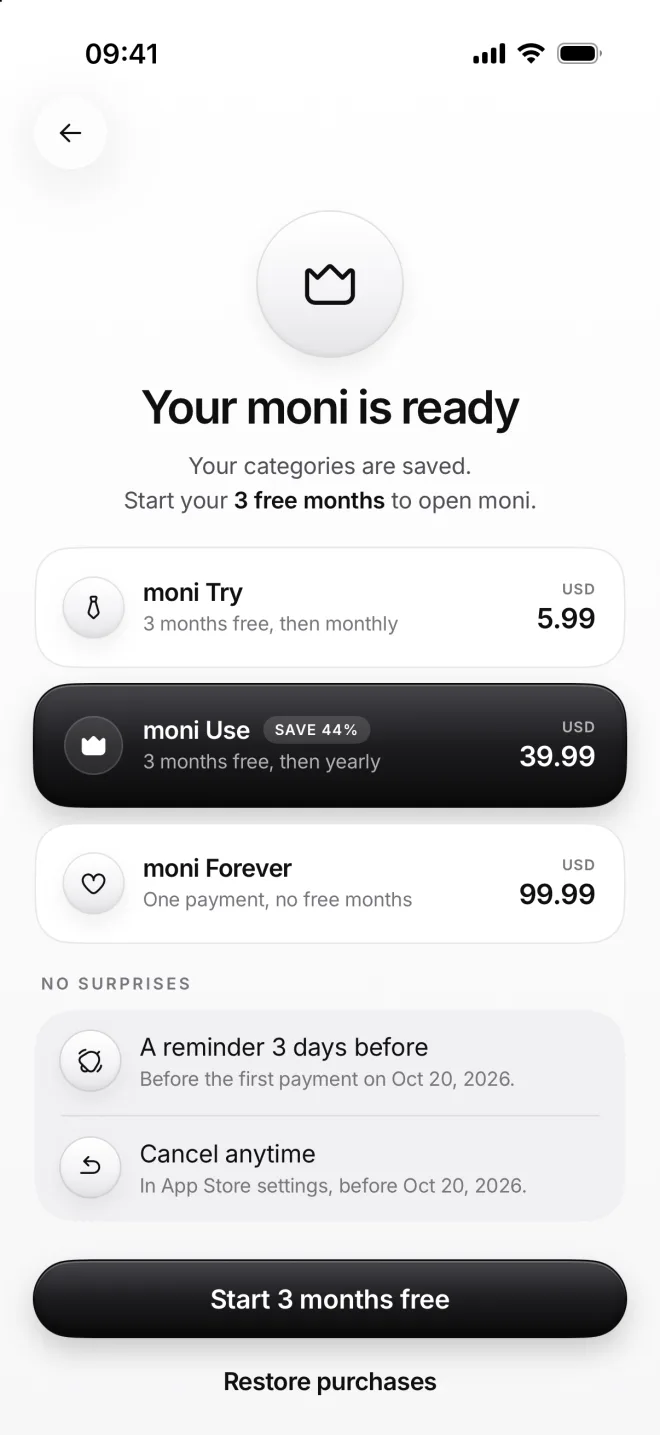
moni shows your plans, with moni Use picked. Tap Start 3 months free and confirm the free trial in Apple’s sheet.
Nothing is paid today. moni reminds you 3 days before the first payment, and you can cancel anytime in App Store settings.
-
You’re all set
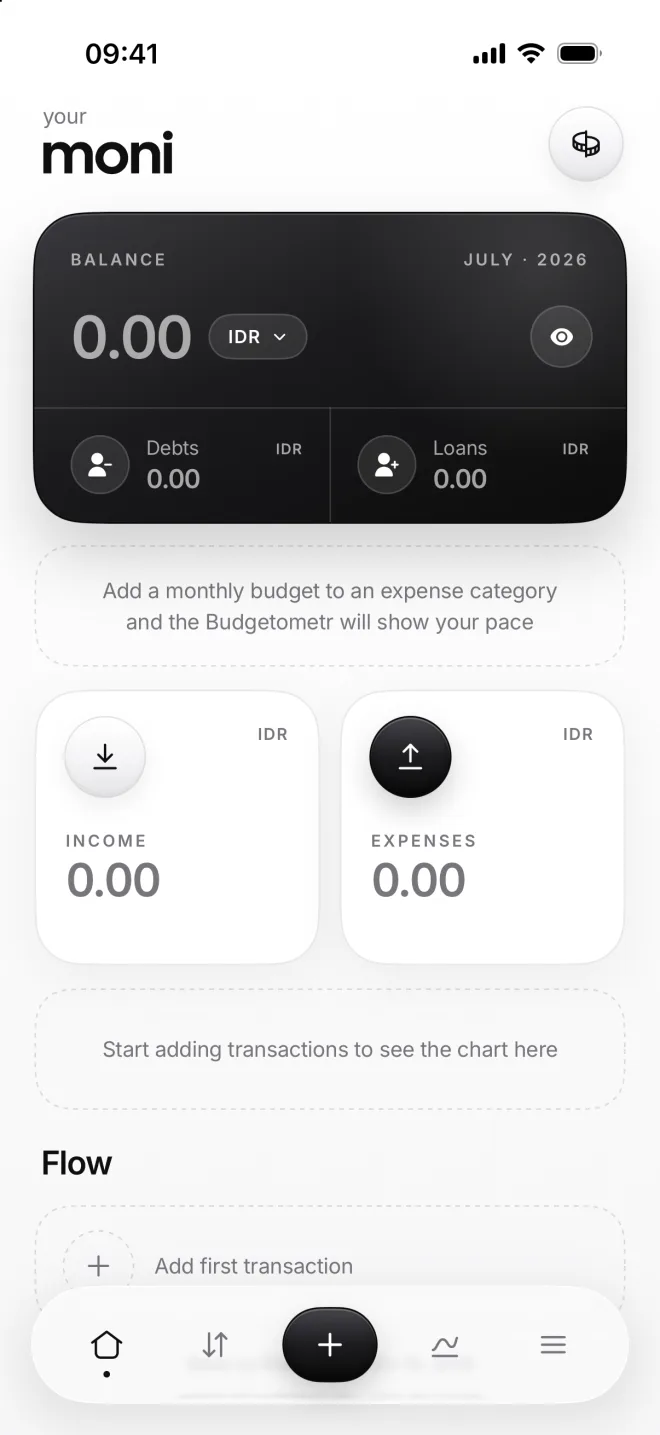
moni opens Home, all at zero for now: it fills in as you add your transactions. Your free three months start from this moment.
Next, tap the + at the bottom of the screen to add your first transaction, or read the next lesson to have a look around.